Software
Installation
You can get your copy of the One on FairReplay cloud. To do this, you will need to register. Learn how to register here.
You have two options for downloading. Either you download a stable version or a preview (beta) version. Preview versions usually include new features, and you are welcome to try them and report any possible bugs.
Download of versions is available here.
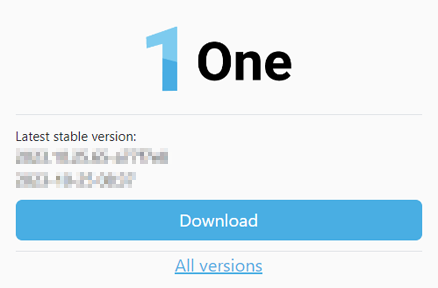
The Download button initiates the download of the stable version, while the All versions link directs you to a list of all publicly available versions.
Once the program is downloaded, open the installation file.
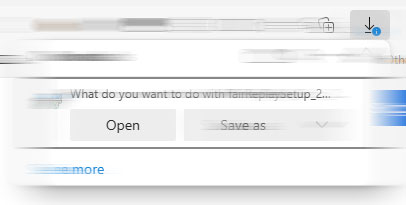
Installation is automatic, and once started, it will install (or replace) One with the newer version that you just downloaded.
Once installation is complete, an icon will appear on the desktop.
How to start One
Double-click on the One icon on the desktop. You can also find the program by searching for 'One' in the Windows Start Menu (by pressing the Windows key on the keyboard).
Main interface
The interface has three modes:
Input settings,
Watch/Operate,
General Settings.
Input settings
Each One has multiple live source. Multiple devices, such as Blackmagic Decklink cards, webcams, NDI, HDMI capture cards, are supported.
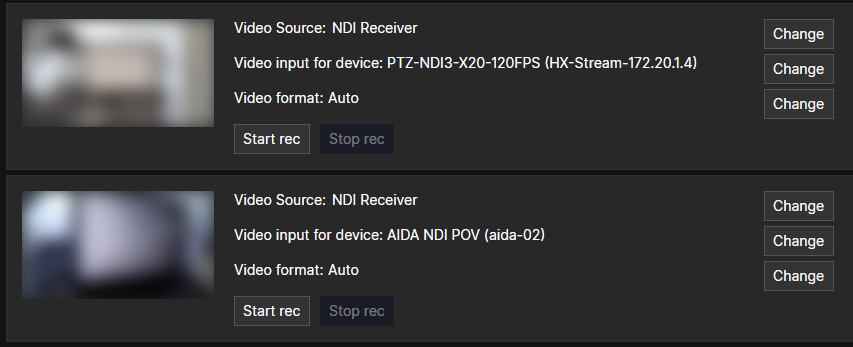
Each video source is defined by setting device, sub-device and video format. Each time you click [Change], a window with available options will be listed. Make sure to restart the program if you connect a new device, such as Blackmagic UltraStudio Recorder 3G.
Once all inputs are set, press [Start rec] to begin recording.
Examples:
Blackmagic Quad 2
Video Source: Blackmagic Quad 2 (3) third input
Video Input: sdi
Video Format: Auto
** NDI source **
Video Source: NDI Receiver
Video Input: Aida NDI POV (aida-02)
Video Format: Auto
** Webcam **
Video Source: Logi C270 HD WebCam
Video Format: YUV2 [email protected] 16:9
Webcams have multiple modes. It's best to find the highest frame rate (30p in the case above) with the highest resolution. Also, check to ensure it is in a 16:9 aspect ratio.
Watch/Operate
This is the main interface. It has the following main sections.
Multiview
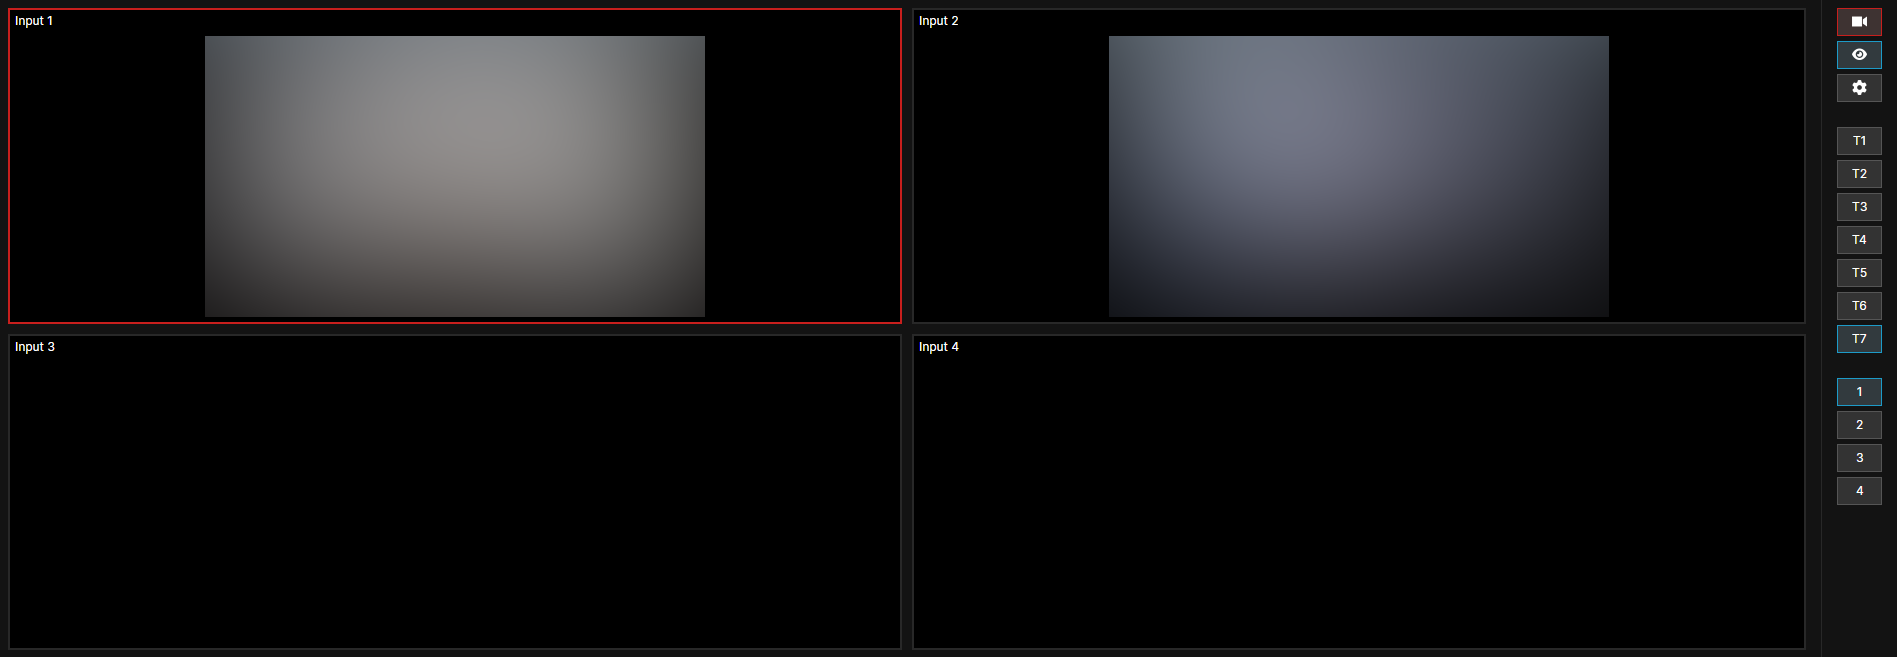
This is the multiview for the operator, displaying the video at the current time in the timeline. If there is no picture at the time, it will either show a black screen or the last available image.
The template can be changed by pressing [Ctrl]-[1-7] or button T1-T7 on the right side.
The red one is the one selected for output.
Timeline
The blue slider show the last 5 minutes by default (you can see [5 min] is currently selected). You can choose more by clicking one of the buttons 5min - 8h.
The blue slider can be operated by holding it with mouse or pressing keys:
ctrl + [left | right] to move by seconds
[left | right] to move by frames
.
The min, now and max labels indicate the available time for scrolling, synchronized with the current time.
- [Play/Pause] toggles playing
- [Live] moves the current time to the latest time - now if recording
- [Exit event] the button is available if you are playing an event
- [Mute] mutes any sound from the selected input
- [25%] (and also other options) sets the playback speed
- slider - allows better control over the playback speed, ranging from 0 to 100%.
Event list
When you press [I], [U], or [O], an event is created. [I] marks the event with an in-point at the current time, [U] creates an event with the current time minus 5 seconds, and [O] marks the new event with an out-poing at the current time.
You can rename an event by pressing [F2] and then confirming with either [ENTER] or [ESC].
Navigate up and down through events with [UP] or [DOWN]. Play an event with [P] or by pressing the [Play] button.
Once an event is active, the timeline changes to orange. You can exit event by pressing [L] or by clicking the [Exit event] button.
General settings
Settings
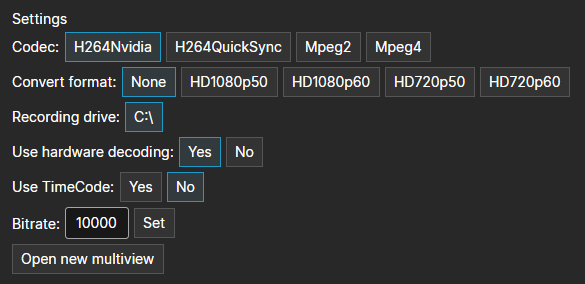
- Codec - by default, we detect if you have an NVidia or Intel graphics card. We prefer NVidia.
- Convert format - You can change all inputs to the selected format. This is recommended for interlaced video sources as playback is much smoother.
- Recording drive - all new recordings will be available on this drive.
- Use hardware decoding - you can choose [No] to disable hardware decoding. Playback can be smoother in some cases.
- Use TimeCode - If all sources have the correct embedded timecode, frame-by-frame and frame accuracy will be optimal.
- Bitrate - this is the bitrate for all recordings, set in kilobytes.
- The [Open new multiview] button opens a new window so you can, for example, move to a second screen for another person. The template can be changed.
License and output
You can activate your copy of One by clicking [Register] (not visible in this screen). A valid license key is generated at backend.fairreplay.com.
Output can be set for available devices such as Blackmagic Quad or NDI, etc.
If you have different input sources (for example 50p and 60p), we recommend setting the output format. If not, it usually causes a frozen picture on various multiviewers because the format on the selected device is changed.
Template editor
Each template can be renamed or sources changed. Selected buttons indicates which inputs will be shown in the multiviewer. Currently, you can not reorder them.
I Love This Program! How Can I Purchase a License?
Visit the FairReplay Cloud and locate One or One Mini.
Click Get annual subscription button and proceed by following the steps outlined in the checkout procedure.
More details about this topic here.
You can learn more about the distinctions between One and One Mini here.
I Have Purchased a License, What's Next?
To activate One (or One Mini), follow these steps:
- Open One and navigate to general settings by clicking the icon
on the right-hand side of the window.
- Locate the
Registerbutton and click it; this action will open a registration form. - Paste the license key into the input field.
- Press the
Registerbutton to finalize the registration process.
How to Unregister One
If you want to unregister One (or One Mini), follow these steps:
- Navigate to general settings by clicking the icon
on the right-hand side of the window.
- Locate the
Unregisterbutton and click it; this action will open a form. - Press the
Unregisterbutton to finalize the process.